My classes are really keeping me on my toes this year! I can just about keep up with them and sometimes I even have to take shortcuts, like I did with this
Wanderlust lesson. Kasia gave us some great tips on how to make a simple and quick wall hanging decoration. I already had some nice pieces of palette paper, which I decided to use for this project to speed up the process.
I started out by cutting a good length of synthetic cloth that I salvaged from a shoebox. I'm not sure if you've seen these before - this one came with my new hiking boots. I tinted it with some fluid acrylics and ended up with this distressed looking ribbon. The texture of the material made it look like it was polka dotted!
The next step was to cut some squares from white card about 9cm in size and some from thicker black card/board slightly larger at 10cm (4" approx). I didn't have any thick black card so I painted some greyboard with black acrylics. Then I stapled my ribbon to the black squares and stuck the white cards covered with random pieces of my pallet paper on top, hiding the staples. This will become clearer when you see the photos below. As a finishing touch, I added some words that are related to my art journey.
This technique looks as impressive as it is simple. I was done in about an hour and I really like the results. I'm so proud of it I even posed with it! (I'll have to remember to make my son stand on a stool next time though - shooting upwards is not very flattering!)
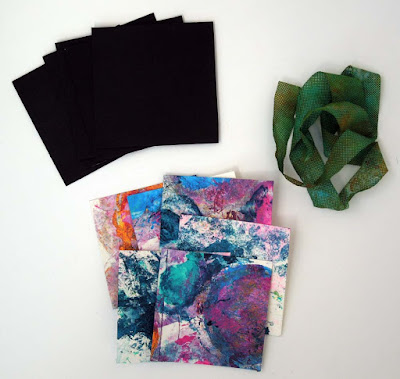 |
| The bits |
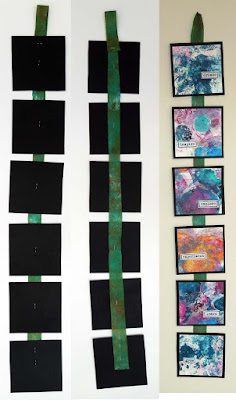 |
| The process |
 |
| The individual tiles |
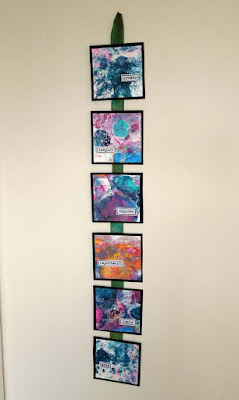 |
| The finished product |
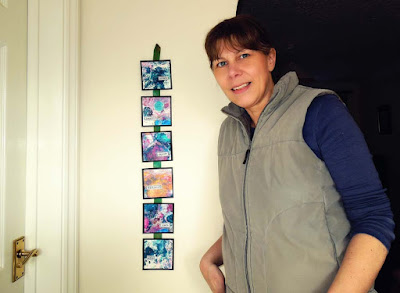 |
| Proudly hanging on the wall |


No comments:
Post a Comment
I would love to hear from you. Please leave a comment below.